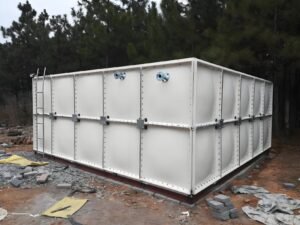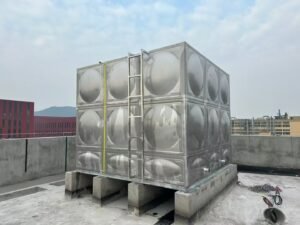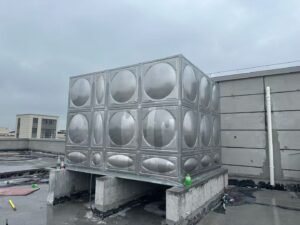


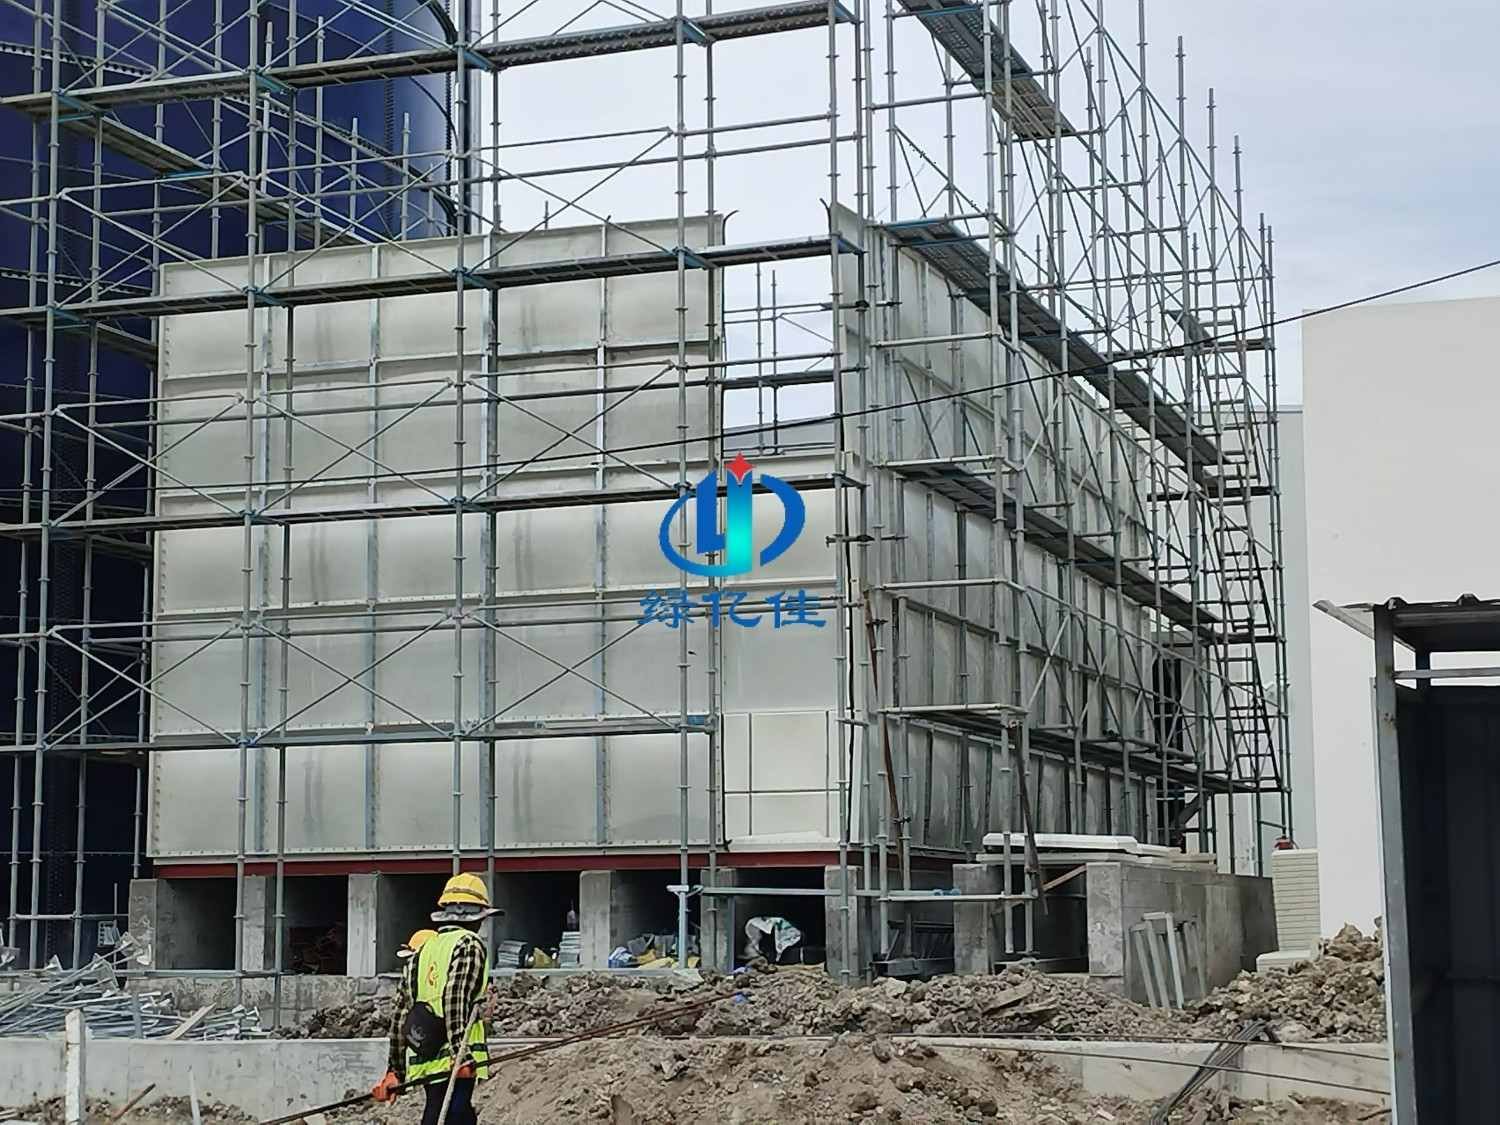
Sectional water tank installation always follows the same order: check the foundation and the kit, lay and square the base course, raise the walls course by course with the internal tie rods, fit the roof and fittings, bring every bolt to torque in a pattern, then run a water test, clean and disinfect before use. No cutting, welding or hot work is needed on a GRP/SMC tank. Whether it stays dry on first fill depends on discipline in that sequence, not on strength.
Key takeaways
- Many sectional water tank installation leaks start before the first bolt: an out-of-level plinth or a short kit. Check both first.
- Build course by course, snug the bolts, square the tank, then torque in a pattern. The gasket makes the seal, not the bolt.
- Fit tie rods as each course goes up, and screen every vent and overflow before the first fill.
- Run a water test, then clean, disinfect and flush before anyone drinks from the tank. Keep the records.
What has to be ready before a sectional water tank installation starts?
An approved drawing, a surveyed and leveled foundation, a clear lifting route and a crew with the right tools. If any one of those is missing on delivery day, the crates wait and the crew stands idle.
The approved drawing and site survey
Every LVJIA tank is built to a general arrangement drawing that the buyer approves before any panel is pressed. It shows the panel schedule, thickness by course, nozzle and manhole positions, ladders and plinth centers. Walk the site with it: confirm the footprint, the headroom above the roof for manhole covers and ladders, and where the inlet, outlet, overflow and drain pipes will meet the tank.
The foundation
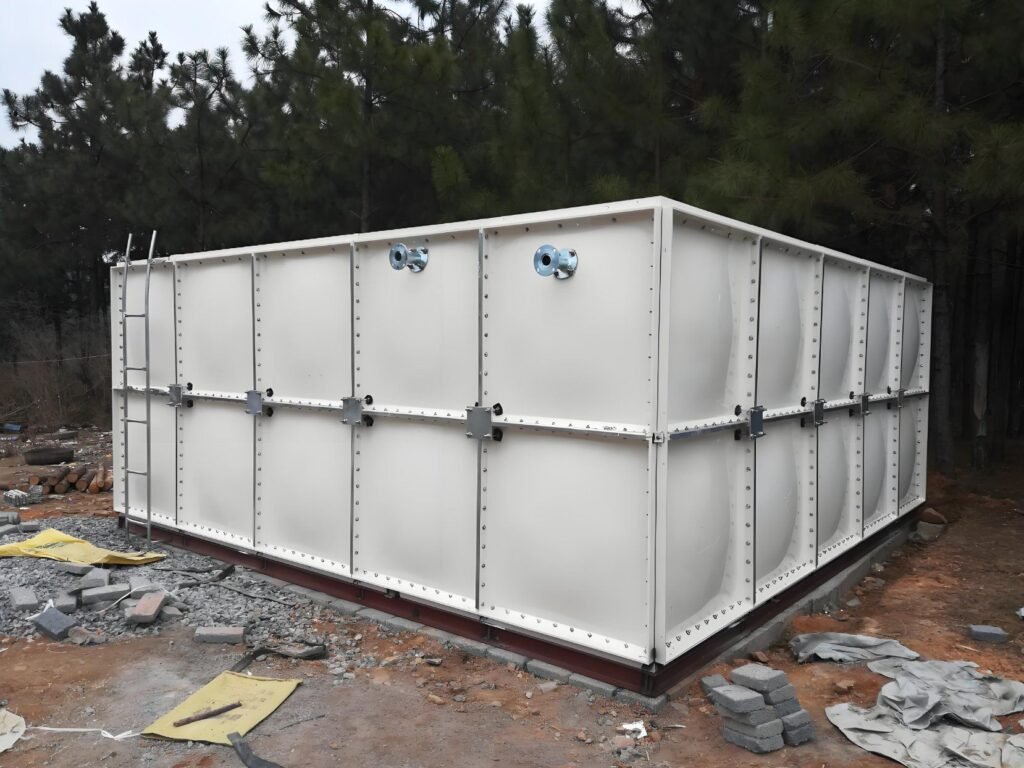
Check every plinth or bearer against our rule of 3 mm over any 3 m, along, across and on the diagonals, and confirm the centers match the drawing. Our guide to sectional water tank foundations covers slabs, plinths, steel frames and the load checks behind them. A foundation fault cannot be fixed once the base course is bolted, so this is the one check you cannot skip.
Lifting and access
Our largest GRP/SMC panel module is 2 × 1 m, so panels pass through doors and stairwells that a one-piece tank never could. Measure the route anyway, including lifts and door heights, and plan where the crates will be opened. Allow working space around the tank for scaffold or podium steps; the top courses and roof are work at height.
| Item | Used for | Note |
|---|---|---|
| Calibrated torque wrench and sockets | Final bolt torque | Set to the value in your assembly manual |
| Ring spanners | Holding nuts, snugging bolts | Two per fitter: one each side of the flange |
| Laser or water level, tape, string lines | Checking the base and squaring courses | Check diagonals before the walls go up |
| Scaffold or podium steps | Upper courses and roof | Never stand on panels or internal stays |
| Soft slings or carrying straps | Moving panels | No chains on GRP or stainless faces |
| Clean rags and a dry, shaded store | Flange faces, gaskets, sealant | Keep gaskets out of sun and dirt until fitted |
How do you check the kit against the packing list?
Open the crate, lay the parts out by type and count them against the panel schedule and packing list before you bolt anything. Report any shortage or damage in writing, with photographs, the same day.
We pack one crate per tank, with its own bolts, gaskets, sealant, ladder and fittings, so a short count is a fault to raise with us, not something to borrow from another tank. It is the cheapest hour of any sectional water tank installation. Sort panels by position against the schedule on the drawing: base, each wall course, roof and any partition. Panel thickness is stepped by water head, heaviest in the base course and thinnest at the top, so a panel in the wrong course is a structural error, not a cosmetic one.

Tip
Count bolts, washers and gaskets by joint type, not just by total. A kit can hold the right number of bolts and still be short of the longer ones that go through three flanges at a corner.
In what order is a sectional water tank installation built?
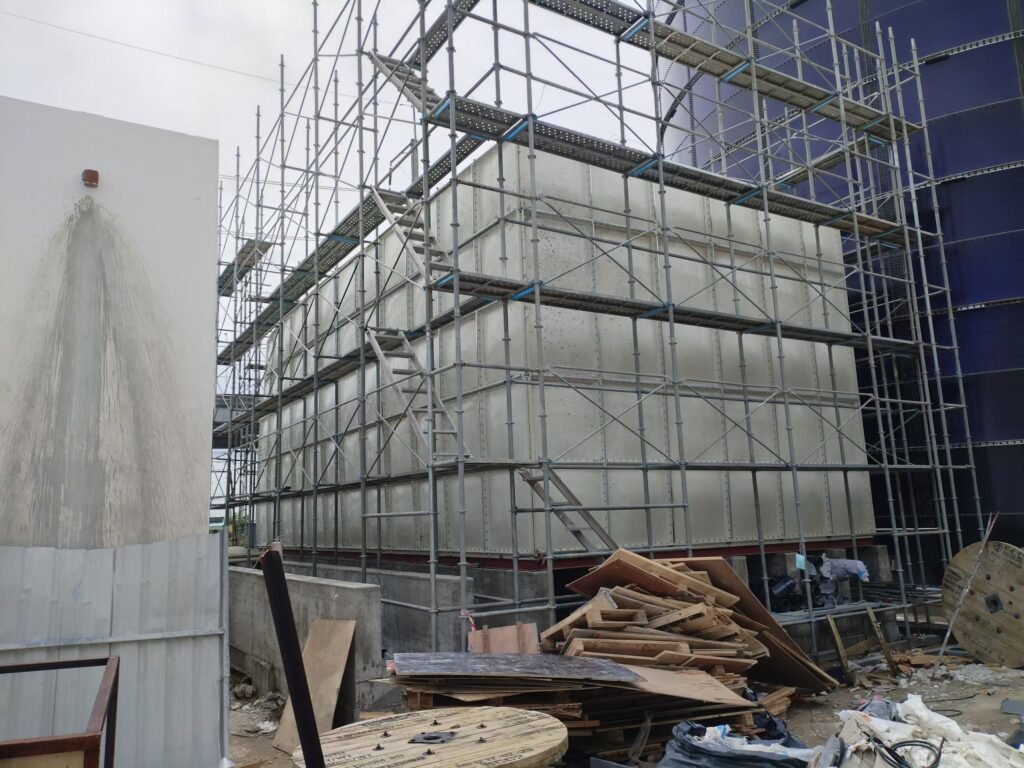
Base course first, then the walls one course at a time with tie rods fitted as you go, then any partition, the roof and the fittings. Bolts stay snug, not torqued, until the tank is square.
Mark the tank grid on the foundation from the drawing and fixed datums, not from a wall that may move.
Lay the base panels over the plinths, gaskets on clean flanges, bolts in and run up snug.
Check diagonals and level on the base course before any wall panel goes up.
Stand the bottom wall panels, bolt them to the base and to each other, and brace temporarily.
Fit the internal stainless tie rods for each course, then raise the next course and repeat.
Build any partition, then lay the roof panels, manholes and vent openings.
Inlet, outlet, overflow, drain, vent, level gauge and ladders at the positions on the drawing.
Torque every bolt in a pattern, then fill for the water test before cleaning and disinfection.
Base course
The base course carries the whole tank, so it must sit on every support it was drawn to use. Start from a corner or the center line shown in the assembly manual, keep flange faces clean, and lay gaskets without stretching them. Snug the bolts so the panels can still be nudged square. If a panel rocks on a plinth, stop: the foundation is wrong, and bolts will not fix it.
Wall courses
Stand the first wall course on the base, bolt it to the base flange and to its neighbors, and prop it until the corners are closed. Check plumb and the line of the bolt holes; holes that line up without force tell you the base is right. Raise each upper course the same way, in the order the schedule shows.
Internal tie rods and stays
Internal stainless tie rods hold opposite walls against the outward push of the water, so they go in as each course is completed, not at the end. Fit them to the positions on the drawing and tension them evenly; a slack rod leaves a wall to bulge, an overtight one pulls it in. Rods and stays are not steps: reach the upper courses from the scaffold.

Roof
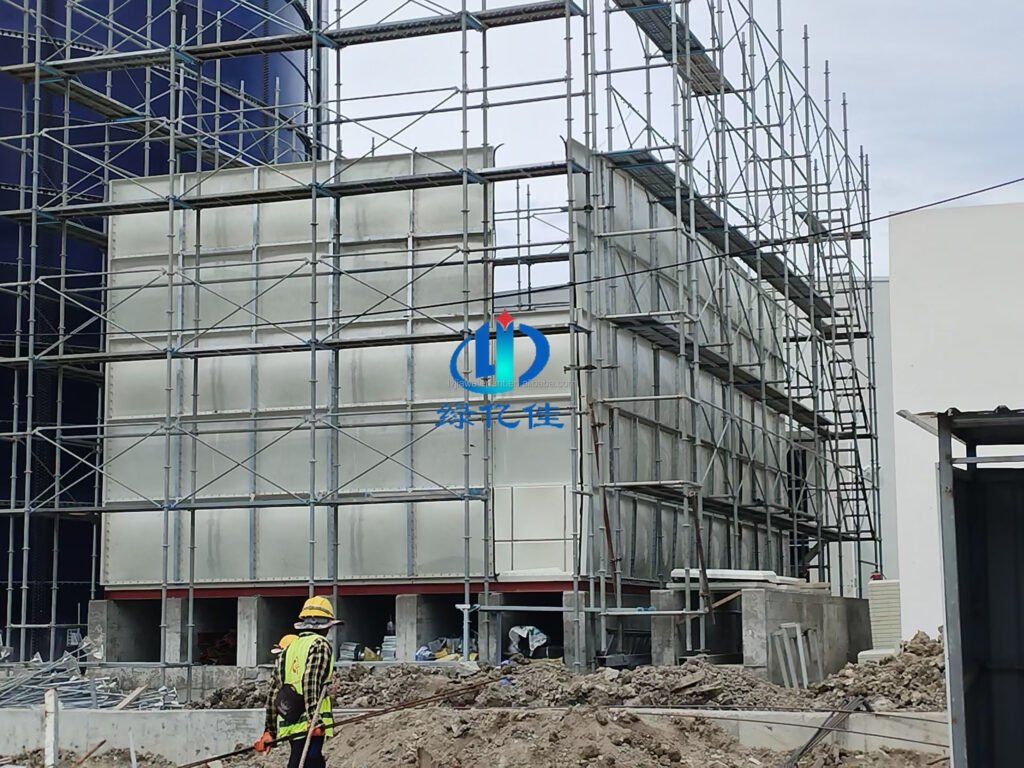
Roof panels keep light, dust and animals out, and they are the last structural course. Fit them with their gaskets like any other joint, place the manholes where the drawing puts them, usually above the inlet and a ladder, and leave vent openings ready for their screens. Nobody should walk on roof panels unless the manual says they are rated for it; use boards or the scaffold.
How should the bolts be tightened?
In stages and in a pattern, to the bolt torque your assembly manual gives, with a calibrated torque wrench. In a sectional water tank installation the seal comes from even gasket compression along the joint, so evenness matters more than force.
Run all bolts up snug first, then square the tank, then torque. Work outwards from the middle of each joint towards its ends, or criss-cross around a manhole, rather than corner to corner, so the gasket is squeezed evenly and does not creep out at one end. Hold the nut with a spanner on the far side so it does not turn with the bolt. Record that each joint is done; on a 200-panel tank, memory is not a record.
There is no universal figure to borrow. Bolt torque depends on the panel material, the bolt size and the gasket, so a value published for another maker’s tank does not transfer to yours. Use the torque in the assembly manual supplied with your tank; if a value is missing or unclear for a joint, ask our engineering desk before tightening rather than guessing.
Watch out
More torque is not more seal. On a GRP flange, overtightening crushes the gasket beside the bolt and can move a leak along the joint. If a joint weeps at the specified bolt torque, look for a dirty flange, a twisted gasket or a support that is out of level.
How do you handle gaskets and sealant?
Keep them clean, dry and out of the sun until they are fitted, and lay them without stretching or twisting. Sealant goes only where the manual shows it, typically at corners and tees where three or more flanges meet.
Wipe every flange face just before the gasket goes on; grit under a gasket is a leak path. Lay gaskets in continuous runs and butt the ends where the manual says, rather than overlapping them. Where a flat gasket cannot close the gap on its own, apply the sealant supplied in the kit and assemble the joint while it is still workable. Do not substitute sealant bought on site, and ask us before putting anything else in contact with drinking water.
Which fittings go where?
Every fitting has a position on the approved drawing, and its panel is punched for it at the works. Fit them there, because a penetration added on site means cutting a panel that was made and tested without it.
| Fitting | Usual position | Check at installation |
|---|---|---|
| Inlet | High on a wall, near a manhole | Float or level valve reachable from the manhole |
| Outlet | Low, away from the inlet | Sits above the floor so sediment stays behind |
| Overflow | Below the roof, above top water level | Screened or flap valve; air gap at its outfall |
| Drain | Lowest point of the base | Valved, with somewhere for the water to go |
| Vent | Roof | Screened with non-corrodible mesh |
| Level gauge | Wall, visible from access | Reads correctly at empty and full |
| Ladders and manhole | External and internal, as drawn | Fixings tight; cover sealed and lockable |
For vents and overflows, the US EPA Region 8 tech tip on sanitary protection of tank vents, drains and overflows calls for 24-mesh non-corrodible screens on vents, a 24-mesh screen or sealed flap or duckbill valve on overflow and drain lines, and no direct connection to a sewer or storm drain without a properly designed air gap.


What changes for a steel sectional tank?
A steel sectional water tank installation follows the same sequence; the panels are smaller and the metal surface needs protecting during the build. Use the manual for the range you bought.
Our galvanized water tank panels are pressed from 2–5 mm Q235 plate and our stainless steel water tank panels from 1.5–4 mm (standard; up to 8 mm by design) plate, both on a 1000 × 1000 mm standard panel, so expect more joints than on a GRP tank built from 2 × 1 m modules. With galvanized panels, protect the zinc from chains and dragging, and do not cut or drill on site; every penetration is punched at the works.
With stainless, keep carbon steel away: the British Stainless Steel Association warns that grinding debris from non-stainless steels and shared tools cause iron contamination and rust staining.
How do you run the water test after assembly?
Fill the tank slowly to operating level with the crew present, then hold it full and log the level while every joint is inspected. Fix weeps by the method in the manual, not by a general tightening of every bolt.
Fill in stages so a problem shows early and at low head: stop at the first course, walk every joint, then continue. Keep someone on site for the whole fill, then hold the tank full for the period your specification or inspection and test plan sets. At our works each tank has already held water for 48 hours with the level logged at start and finish, so a site weep is more likely to come from the foundation, a gasket or the bolt-up than from the panels.
Log the level against time, note the weather and any water drawn off, and photograph any damp joint. Our guide to the hydrostatic water test for sectional tanks covers duration and acceptance in more detail.
How do you clean and disinfect the tank before use?
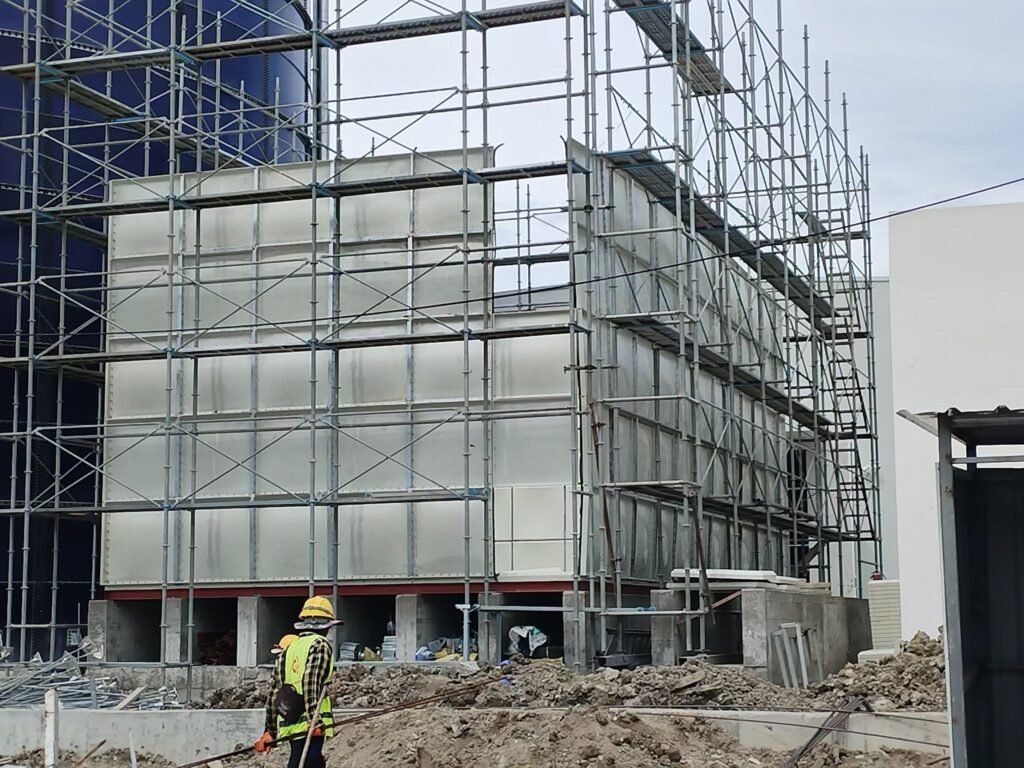
Clean out assembly debris, then disinfect, drain, flush and sample before the tank supplies drinking water. Plan the work as confined-space entry, not as a quick look inside.
The HSE’s technical guidance on Legionnaires’ disease in hot and cold water systems (HSG274 Part 2) says any new water system needs, as a minimum, flushing and disinfection before being brought into use, and points to BS EN 806 and BS 8558 for how. In the US, AWWA C652, now in its 2025 edition, covers disinfection of water storage facilities and is written for public water system tanks, not tanks inside premise plumbing. Our guide to cleaning and disinfecting a sectional water tank works through the chlorine dose.
A closed tank can be a confined space. The HSE’s confined spaces leaflet lists storage tanks among its first examples, and says to avoid entry if the work can be done another way, to use a safe system of work where it cannot, and to have rescue arrangements in place. Clean from the manhole where you can.
What are the common installation faults?
Most faults on a sectional water tank installation trace back to the base, the bolt-up sequence or the fittings. The table lists the common ones, with the likely cause and how to prevent each.
| Fault | Likely cause | Prevention |
|---|---|---|
| Base joint weeps on first fill | Plinth high or low against its neighbor | Level grid, 3 mm over any 3 m, before unpacking |
| Upper bolt holes will not line up | Base course not square or level | Check diagonals and level before the first wall course |
| Weep along a whole joint | Grit on the flange, stretched or twisted gasket | Wipe faces just before fitting; lay gaskets relaxed |
| Leak at a corner or tee | Sealant missing or skinned before assembly | Apply kit sealant and close the joint while workable |
| Walls bulge when full | Tie rods missing, slack or in the wrong holes | Fit and tension rods course by course, as drawn |
| Gasket crushed beside bolts | Over-torque or corner-to-corner tightening | Calibrated wrench, manual bolt torque, pattern tightening |
| Insects or debris inside | Unscreened vent or overflow | Fit screens before first fill |
| Rust staining on stainless | Carbon steel tools or grinding nearby | Segregate tools; no grinding near the panels |
Which documents should you keep after installation?
Everything that shows what was built, how it was tested and how it was disinfected. The next inspector, and anyone chasing a leak years later, will ask for them.
- The approved GA drawing and panel schedule, with any site changes marked.
- The packing list signed off on delivery, with any shortage reports.
- The works hydrostatic test sheet and material certificates that travel with the tank.
- The assembly manual (EN/中文) supplied with the kit.
- The foundation level grid and the torque record.
- The site water test log, with dates, levels and photographs.
- The disinfection record and the sample results before first use.
- Copies of the certificates for the range, from our water tank certifications page.
For our SMC water tank range those include the CE Verification of Conformity to EN 13280:2001 and the GB/T 17219-2025 drinking-water contact report SP2630502. How the panels are pressed, punched and trial-assembled before shipping is on our GRP water tank manufacturing page, and range documents are on our water tank datasheets page. The same sequence applies to our GRP sectional water tank, modular GRP water tank and rooftop GRP water tank.
Sectional water tank installation FAQ
Do you need special equipment to install a GRP sectional tank?
Mostly hand tools: spanners, a calibrated torque wrench, a laser level and safe access for the upper courses. Ask for panel weights with the drawing and plan manual handling and any lifting aids from those figures rather than from guesswork.
Can the installer drill extra holes on site?
Avoid it. Penetrations are punched at the works to the approved drawing. A hole drilled on site weakens the panel, breaks the coating on steel and leaves the tank different from its drawing. Ask us before cutting anything, so the change is checked against the drawing first.
Should the bolts be re-tightened after filling?
Only where a joint weeps, and then in a controlled pattern with a calibrated wrench at the manual bolt torque, working the bolts either side of the weep in sequence. A blanket re-torque of every bolt risks crushing gaskets that were sealing perfectly well, so leave dry joints alone.
How long should a new tank be held full before acceptance?
Follow the water test duration in your specification or inspection and test plan. Our works test holds each tank full for 48 hours; if the specification is silent, repeating that period on site gives a like-for-like comparison. Log the level at the start and end, and allow for evaporation and any draw-off.
Can the tank be left empty after assembly?
Plan the first fill for soon after the build, while the crew and their records are still on site. If the tank must stand empty for a while, check the bolts against the manual torque before filling, keep the manholes closed so debris stays out, and watch every joint as the level rises.
Who can install an LVJIA sectional tank?
Any competent crew working from the approved drawing and our assembly manual. Our engineering desk answers installation questions in writing, with a first reply within two hours; quote the drawing number with your question so the answer fits your exact tank.
Talk to an engineer
Planning a sectional water tank installation? Send us the site first
Send photographs of the base, the access route and the drawing reference; the engineering desk’s first written reply comes within two hours.